Project brief for a busy Pretoria campus
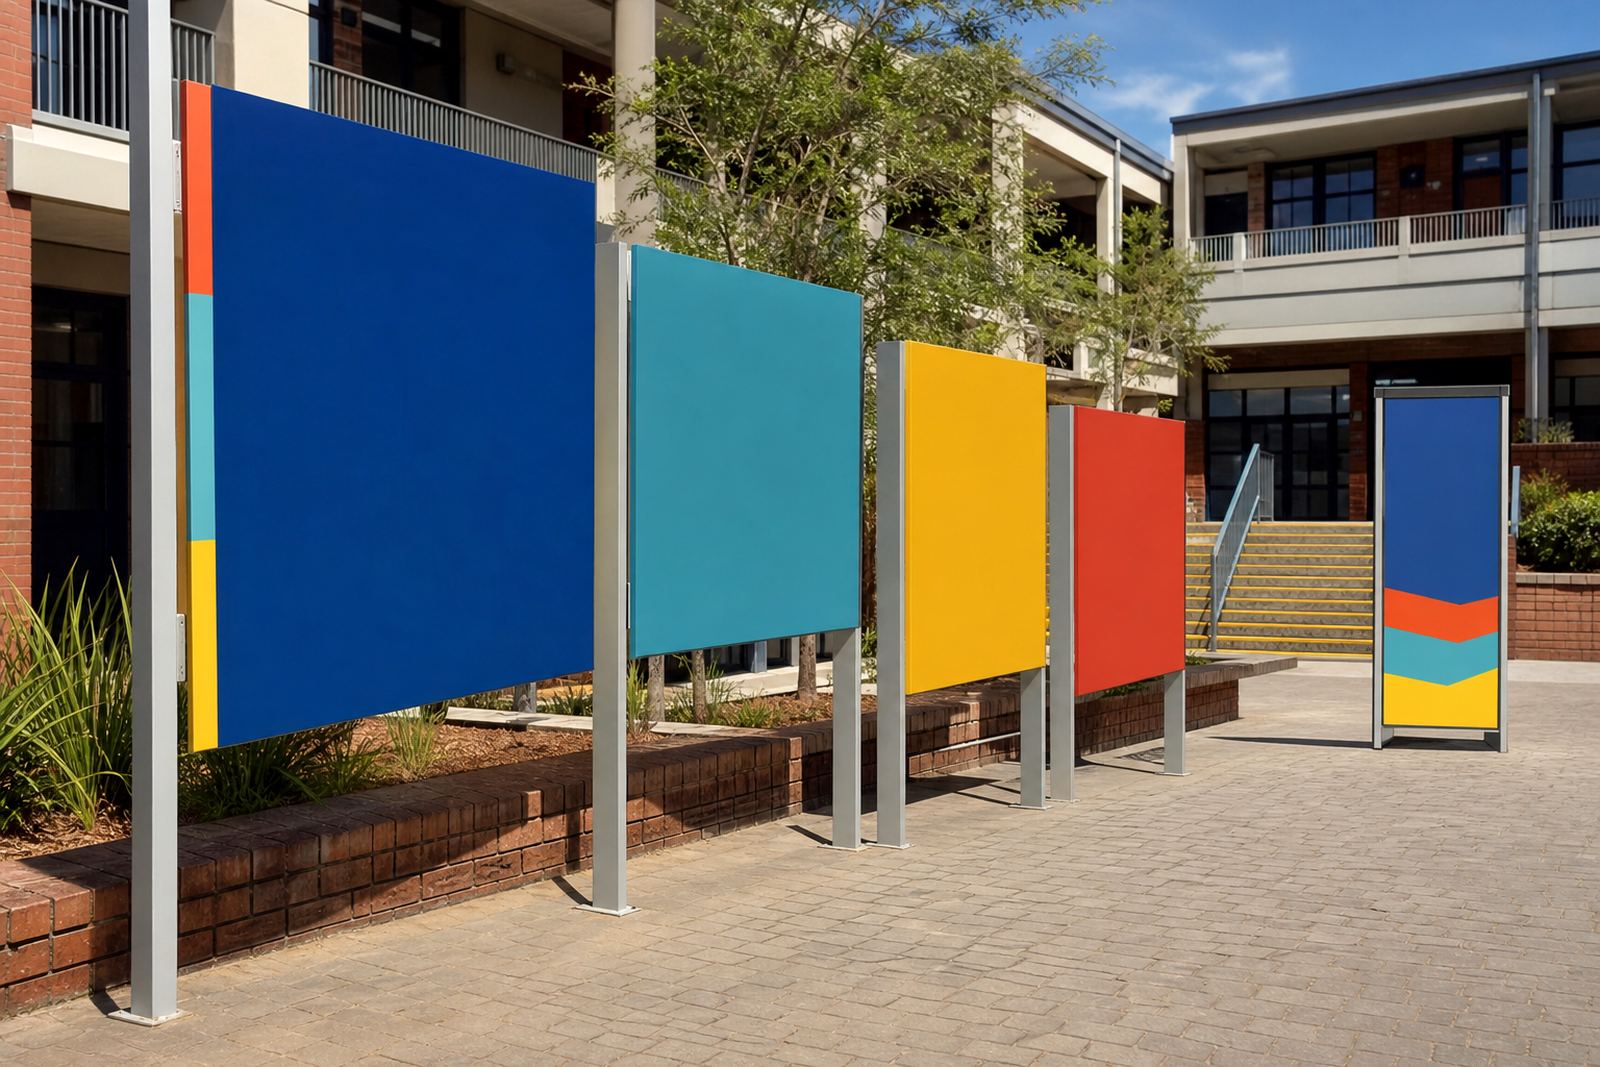
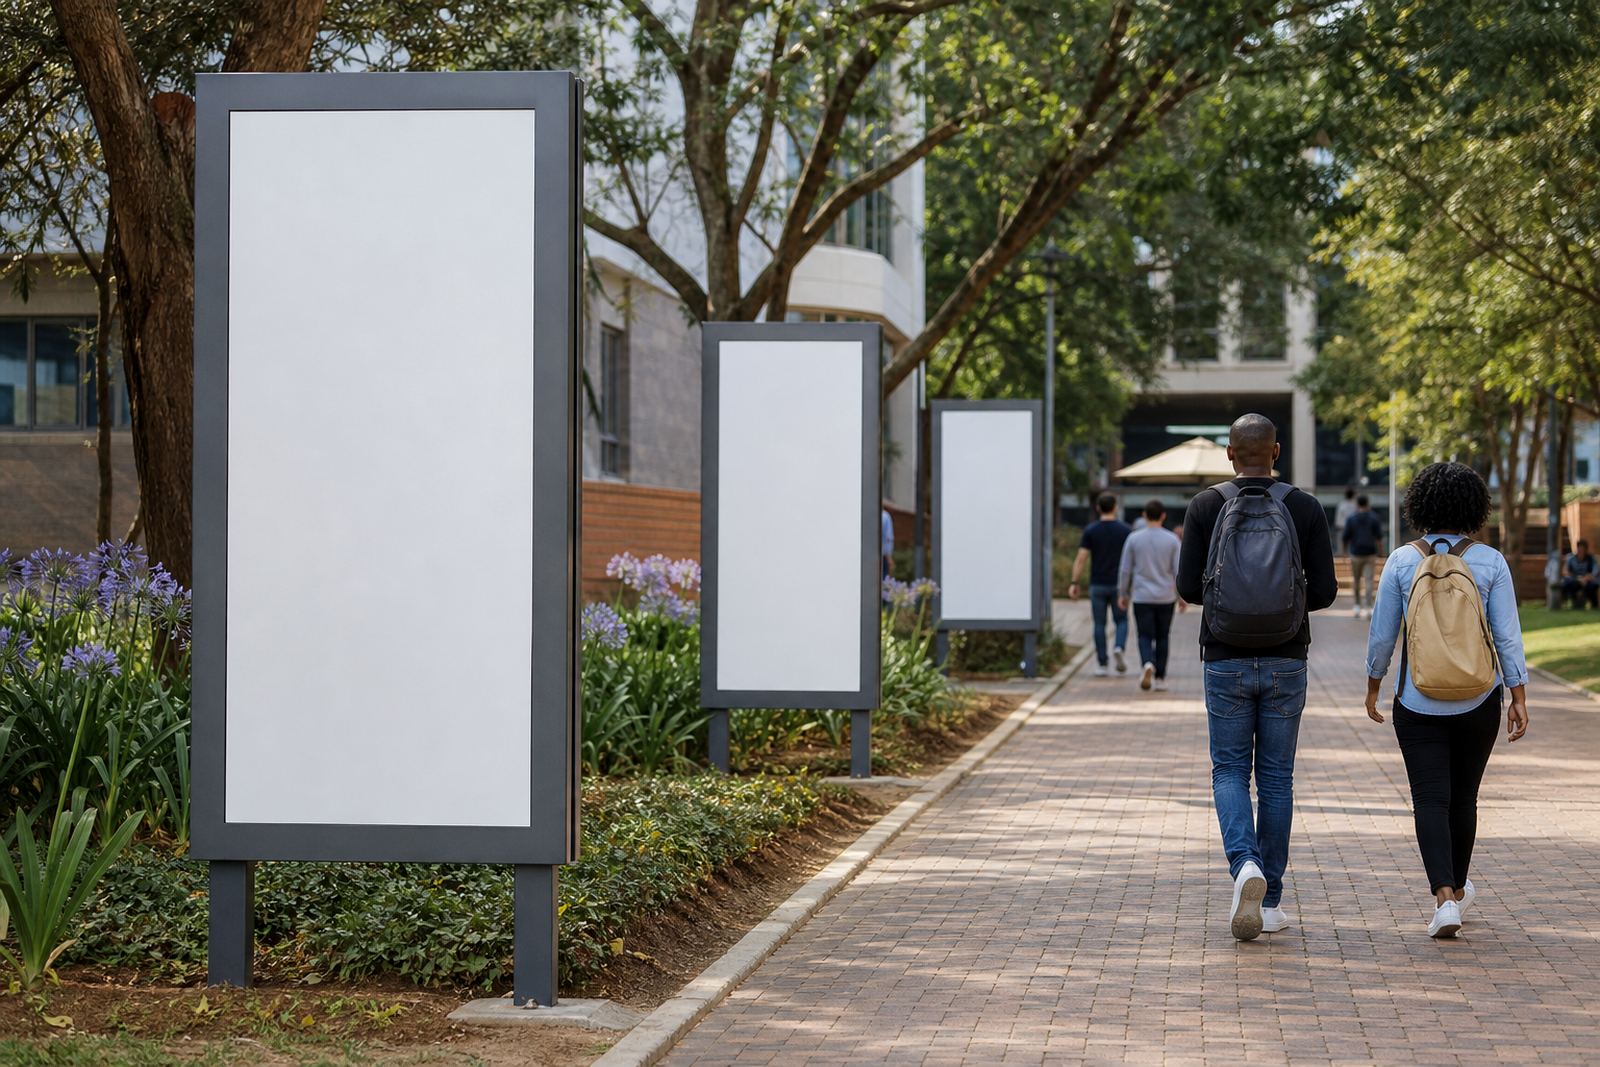
The client needed a practical wayfinding system for a Pretoria campus with more than one access point, several pedestrian routes and separate building clusters. The main brief was simple enough on paper: help people find reception, lecture areas, administration, parking and staff access points without stopping to ask for directions every few minutes.
The boards had to stand up to sun, dust and regular handling, and they needed to look neat from the road as well as at close range. Because the site included both indoor corridors and outdoor walkways, we planned the signage as a single visual system rather than a collection of loose signs. That kept the campus easier to read and reduced confusion at the key decision points.
- Rigid directional boards for outdoor and indoor use
- Clear arrows, building names and zone labels
- Colour matched panels for a consistent campus look
- Readable copy from short and medium viewing distances
Site limits and production constraints
Pretoria weather and municipal placement rules had to be considered from the start. Some boards were exposed to direct sun for long hours and a few positions were close to high foot traffic, so the panel selection and finish had to cope with wear as well as visual clarity. We also had to keep the information clean because too much text on a wayfinding board makes it useless in the field.
Power interruptions and delivery timing were part of the planning too. We kept the workflow staged so that artwork approval, panel preparation, print checks and fitting could move in order without holding the whole job up. The result was a project that could be installed in sections while the campus continued operating, which mattered because people still had classes, admin work and visitor traffic to manage.
- Exposure to sun and outdoor dust
- Mixed viewing distances across the campus
- Need for phased installation around daily operations
- Simple messaging to avoid crowding the boards
What we supplied and how it was produced
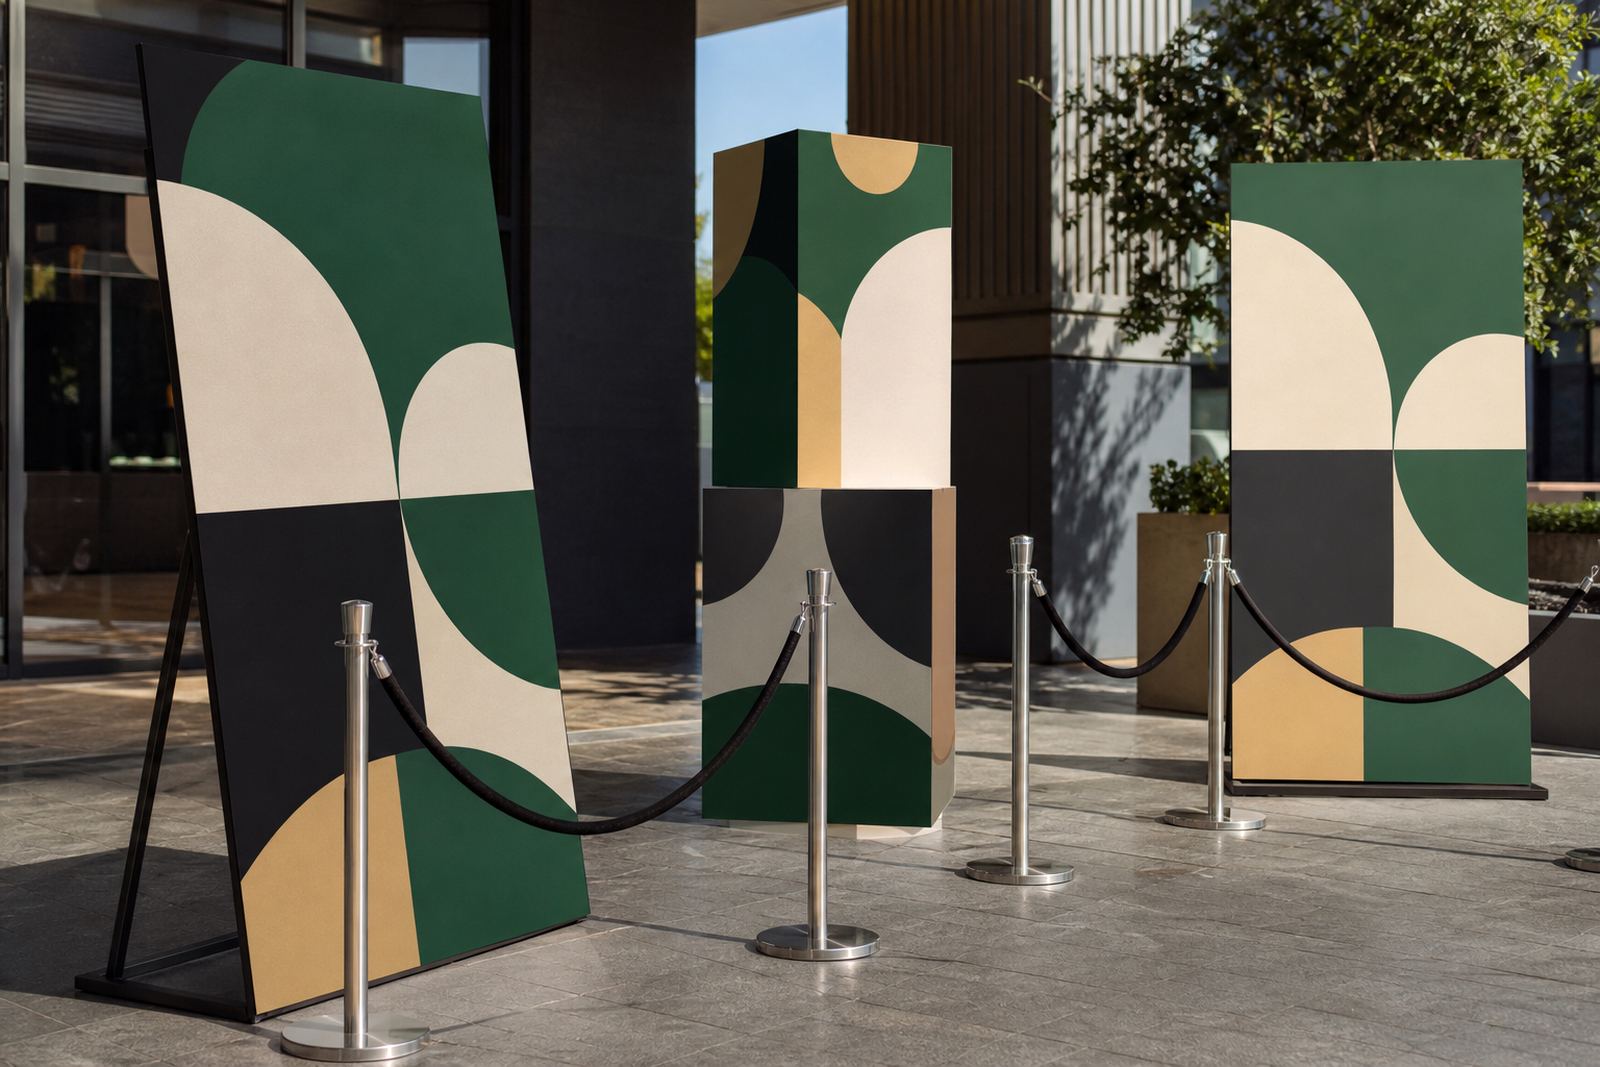
We supplied the directional boards as rigid printed panels suited to signage use, with flatbed UV printing used for the artwork layer and durable ink build for the finished face. For this kind of project, the aim is not only a bright print but a surface that keeps its colour and edge definition after handling, transport and outdoor placement. The media choice was matched to the fixing method and the final position of each sign.
Our team handled print setup, colour guidance and the board-by-board check before installation. That included checking directional arrows, spelling, spacing and contrast so that each sign worked on its own and as part of the wider route system. A few minor layout changes were made during proofing, which saved time once the boards were on site and prevented confusion at the busiest junctions.
- Rigid board production for directional use
- Flatbed UV print process for sharp text and colour
- Inspection of each panel before dispatch
- Fixing plan prepared for on site installation
Installation, training and handover
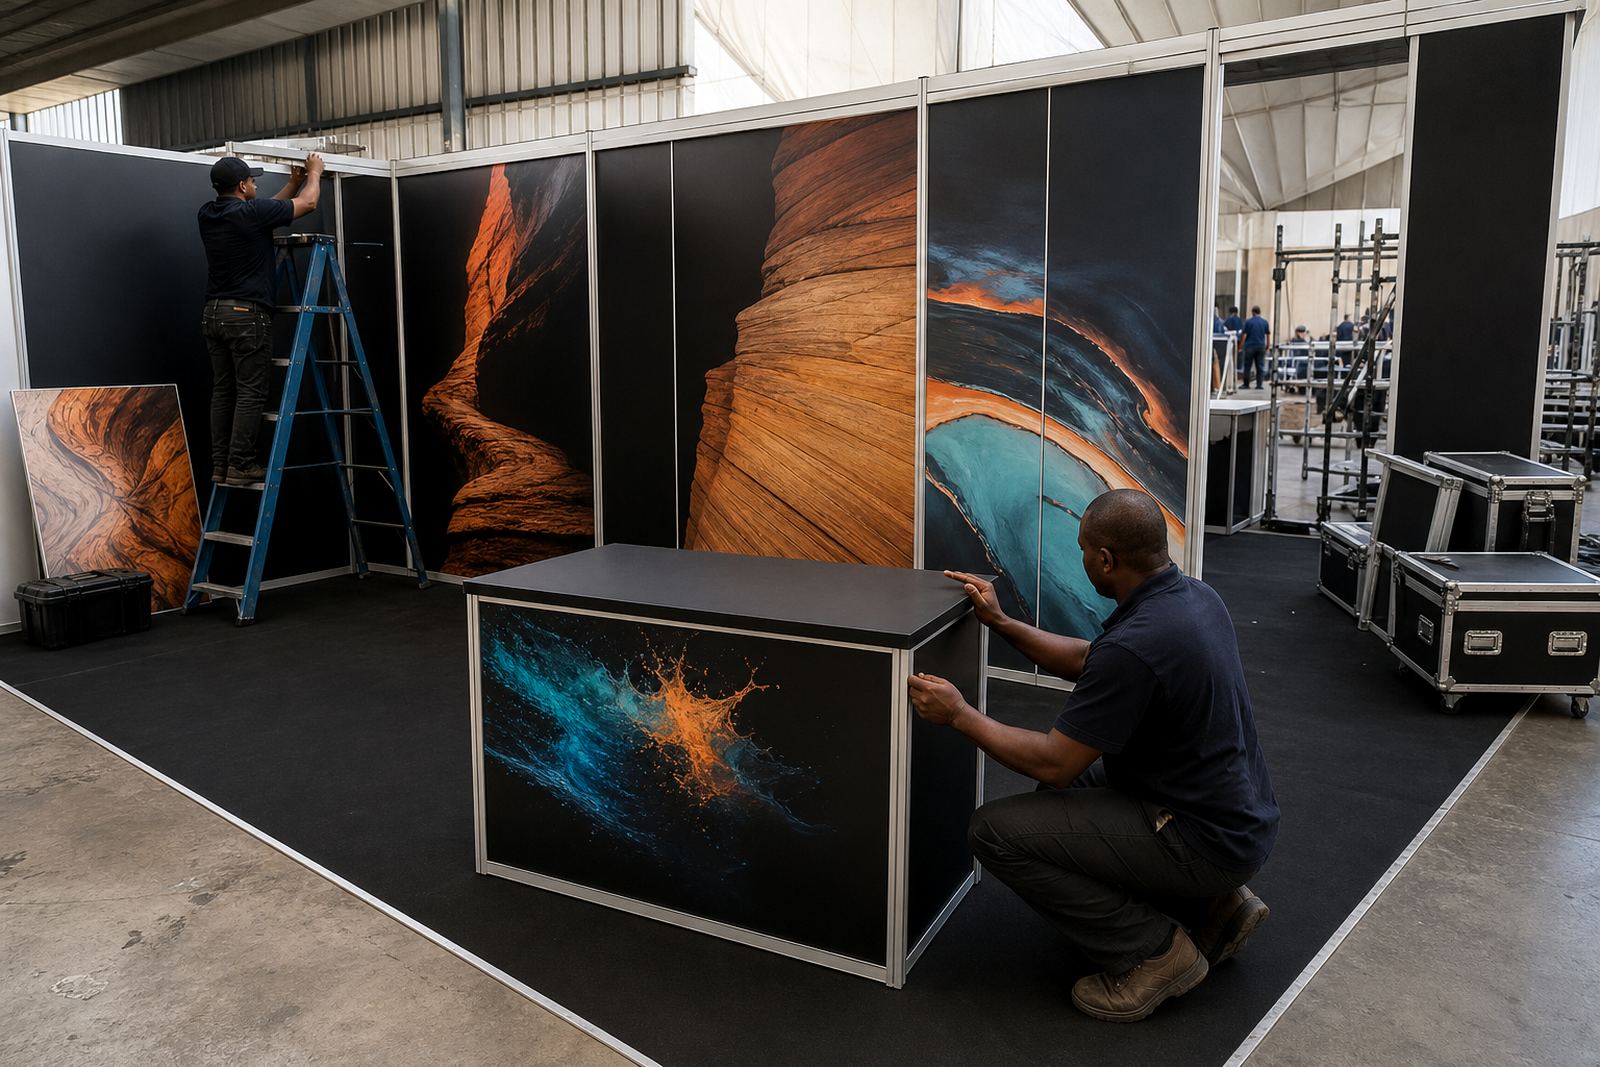
The installation was carried out over a short planned period in weeks, with the most visible routes done first so the campus could start benefiting straight away. Once the first boards were in place, we checked sight lines from the main approach paths and adjusted a small number of positions to improve visibility. That sort of practical review matters on a real site because a sign can look fine in the workshop yet still sit too high, too low or slightly off angle once mounted.
We also guided the campus staff on basic upkeep, safe cleaning and what to look for if a board gets damaged or moved. The handover covered the logic of the system so that new directions or building names can be added later without breaking the overall layout. People on site were shown how to use the signage set in a consistent way, which makes future updates easier to manage.
- Phased installation completed over several weeks
- Sight line checks after fixing
- Basic care guidance for staff
- Future update process explained during handover
Results on the ground
After the boards were up, the campus had a clearer flow between entrances, parking areas and main buildings. Visitors spent less time asking for directions and staff had fewer interruptions at reception and security points. The rigid boards also gave the site a tidier appearance, which matters when the first impression is formed at the gate or on the main driveway.
Because the system was planned as one package, it was easier to read than a mix of old signs and temporary notices. The colour coding and directional layout gave the campus a more ordered feel and helped people move through it faster. In practical terms, that means less confusion, fewer wrong turns and better use of the space that is already there.
The client also had a print standard that can be repeated later if more buildings are added. That is useful for a growing campus where directions change over time. We would call that a good result, because the signage now supports daily use instead of needing constant explanation.
What we would do again on a similar project
If we took on a similar campus project in Pretoria again, we would approach it the same way: site walk, route mapping, clear message hierarchy, then print and fit in stages. That method keeps the boards useful and prevents the common mistake of trying to put too much information onto one panel. It also makes it easier to accommodate future changes without redoing the whole set.
We would keep the focus on durable rigid media, legible type, and a simple visual order that works in sun, shade and at speed. For campuses with mixed buildings or multiple entry points, that practical approach saves time over the long run and gives the site a cleaner, more professional finish.
- Map the routes before layout work starts
- Keep each board focused on one decision point
- Use a repeatable colour and arrow system
- Plan for future additions from the start
Key facts
| Project type | Campus wayfinding system |
|---|---|
| Location | Pretoria, Gauteng |
| Board type | Durable rigid directional boards |
| Print method | Flatbed UV printing |
| Scope | Production, installation and handover |
| Timeline | Completed in phased stages over several weeks |