
Start With The Right Mix Of Rigid Samples
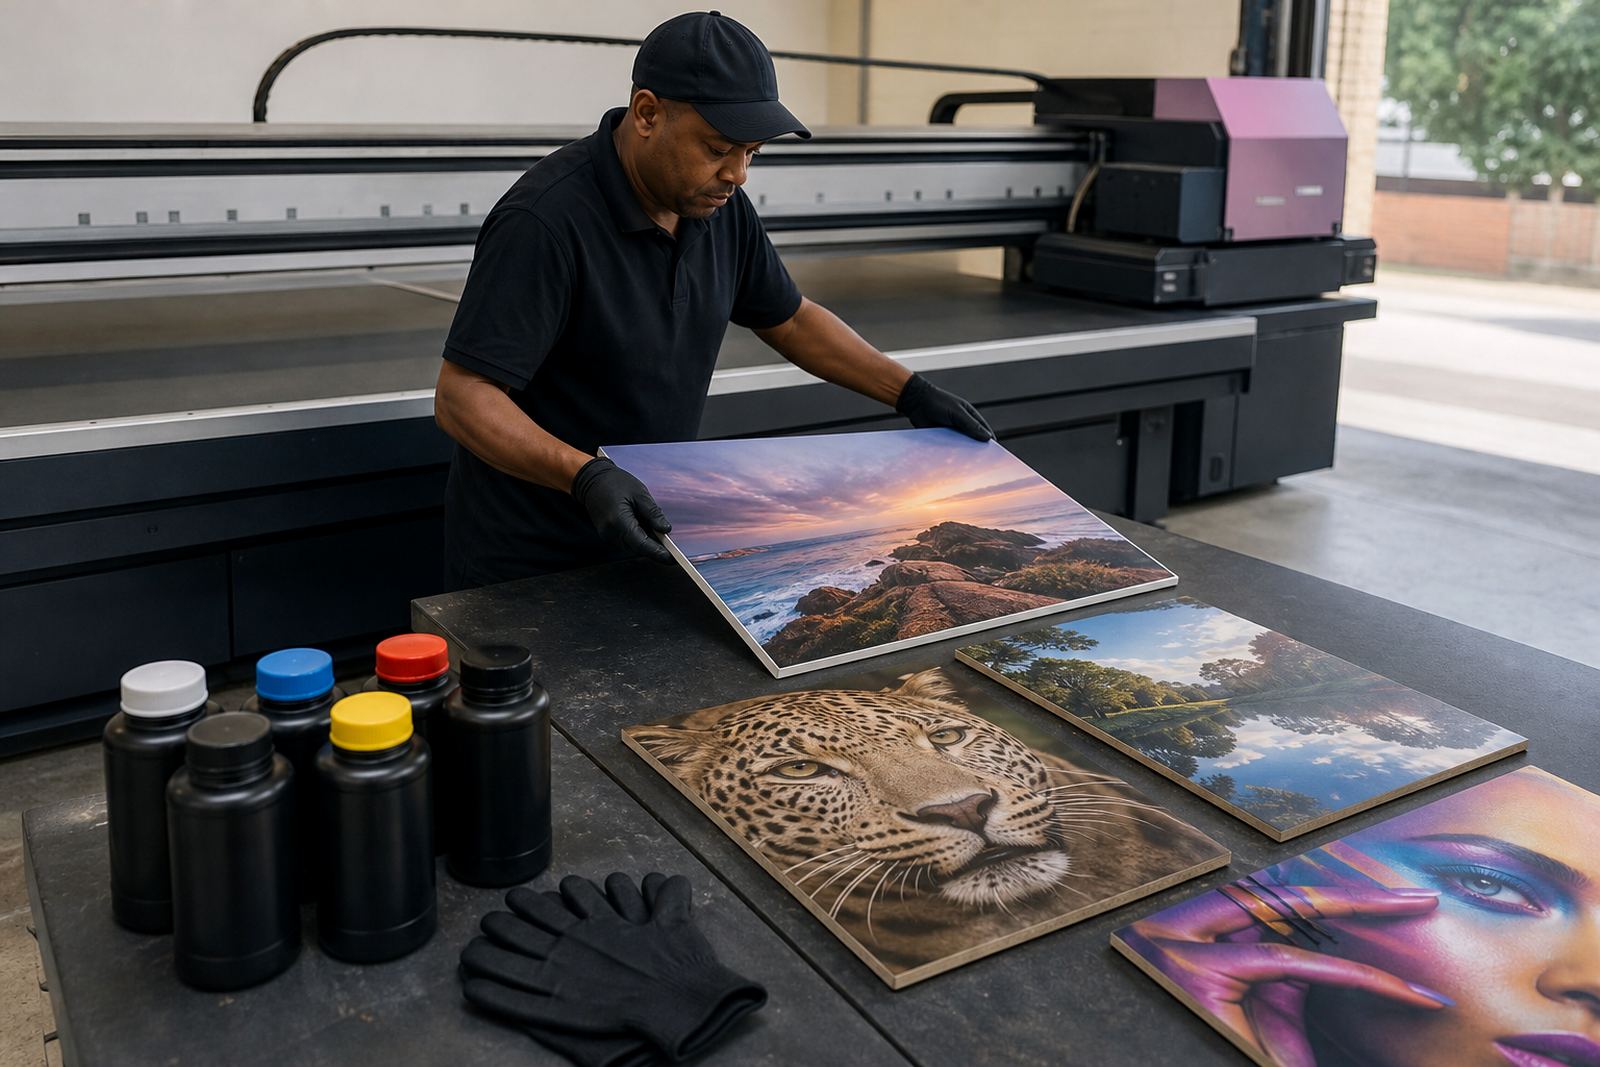
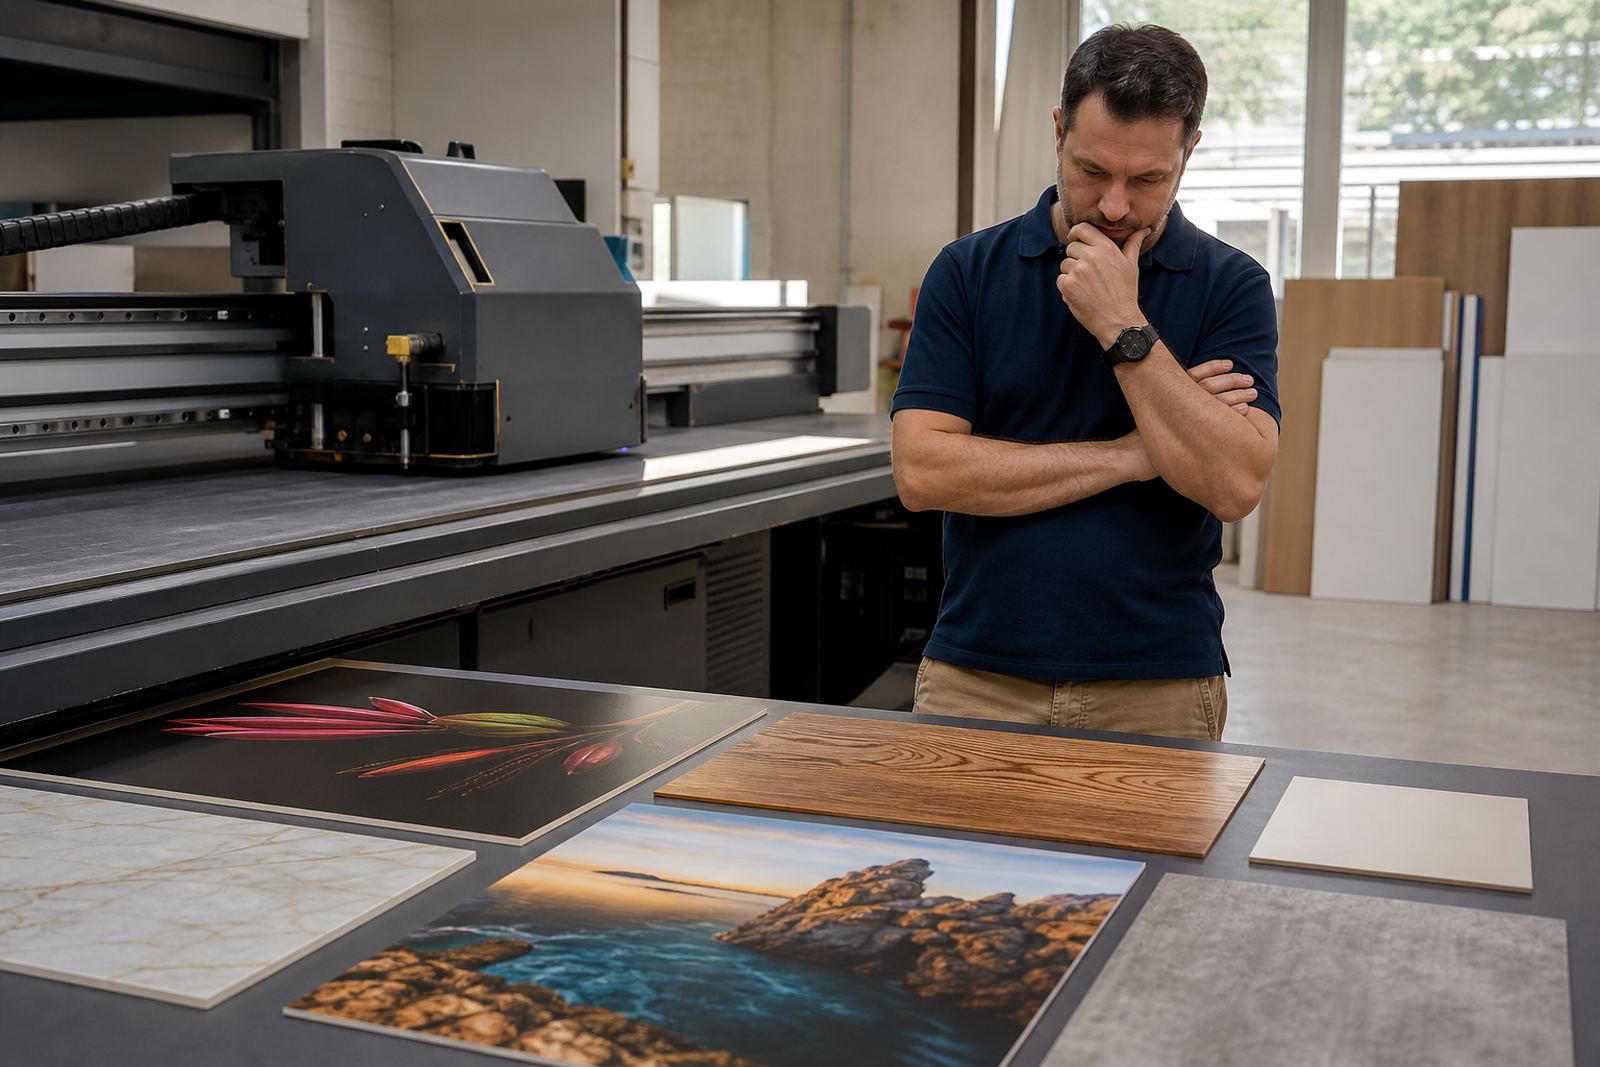
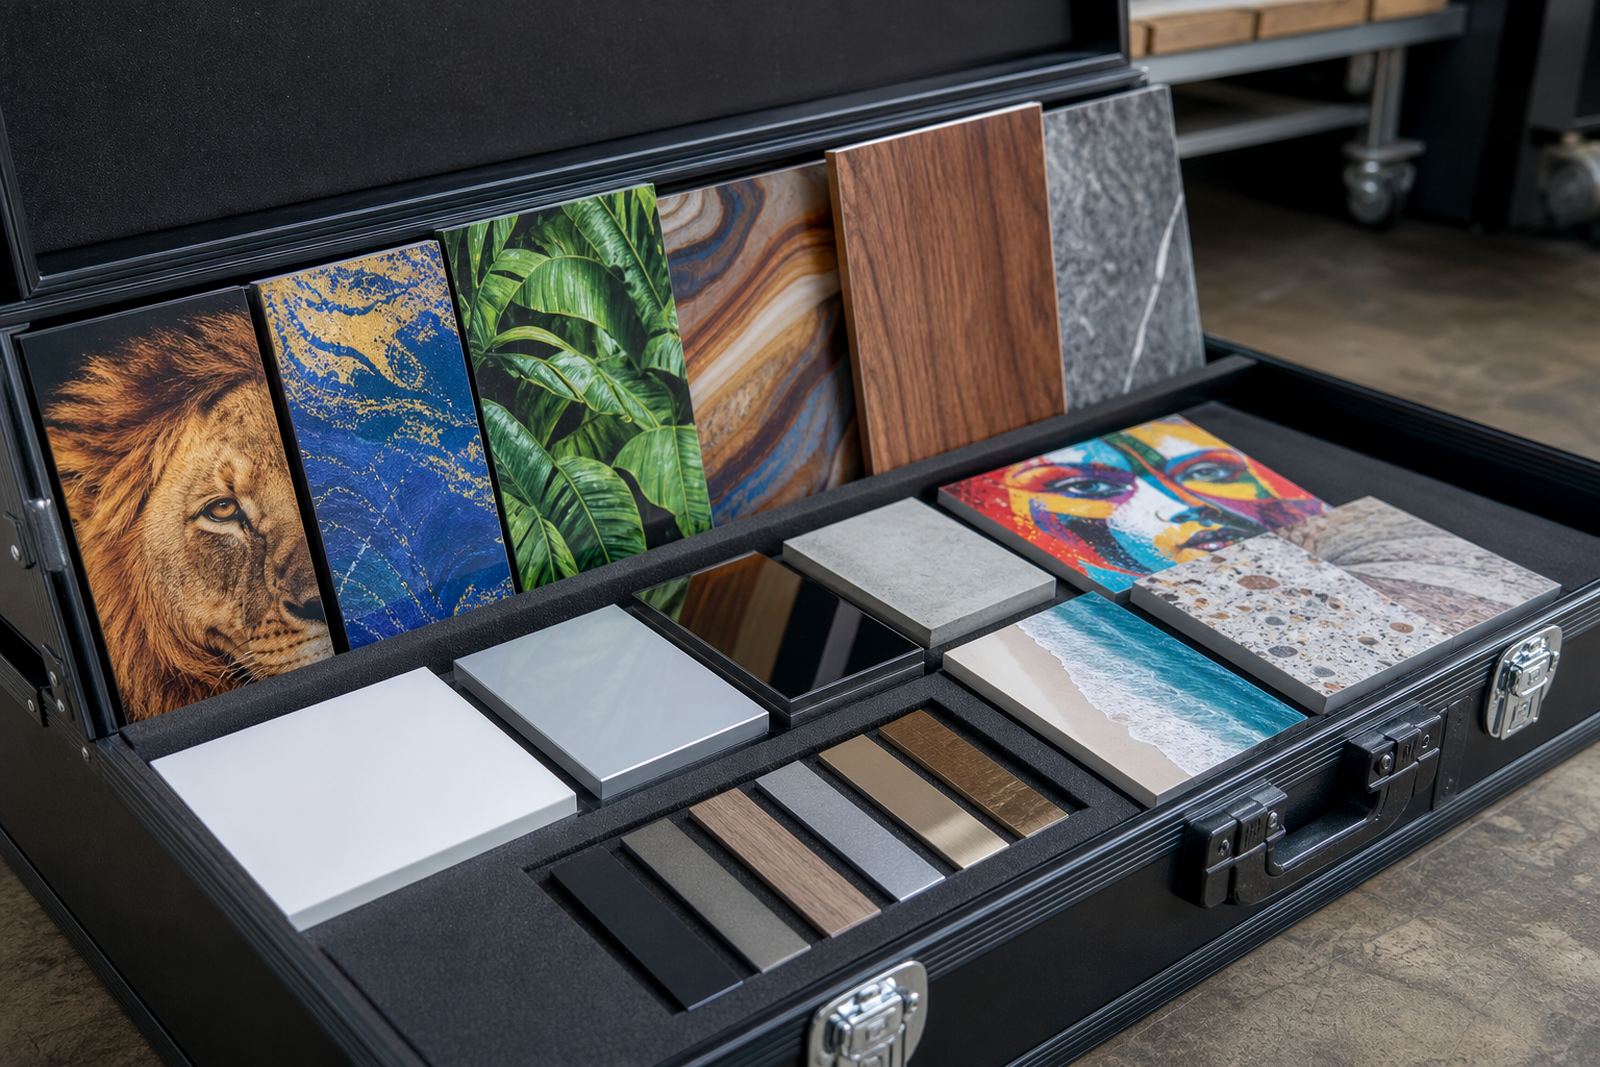
A sample kit should do more than show a pretty print. It needs to help a client compare how different rigid boards take ink, how sharp text holds up, and how the finished piece will behave in real use. Start with a small but practical mix of substrates such as foam board, PVC sheet, corrugated board, acrylic, composite panel and other rigid stock used for signage, display and point of sale work.
Keep the set manageable. Too many samples become hard to review, especially when a buyer is trying to make a quick decision. A clean kit with five to eight well chosen pieces usually gives enough range to show print quality, surface feel, edge finish and mounting options. If the client works in retail, events or interior branding, include examples that speak to that use case instead of adding random pieces.
Build Each Sample Around A Clear Print Test
Every sample should answer a question. A client may want to know whether fine text stays readable, whether strong colour fields stay even, or whether the board is suitable for indoor and short term outdoor work. Use the same artwork across all samples where possible, so the differences in media and finish are easy to see.
For a proper comparison, include light and dark areas, small type, logos, skin tones, flat colour blocks and a few lines near the edge. This gives a better view of registration, ink laydown and how the surface handles detail. If a sample is meant for a retail display, add a section with a clear call to action or price panel so the client can picture the final piece on the shop floor.
- Use the same layout across all media where possible
- Include fine text, solid colour, gradients and logos
- Add a label with media type, thickness and intended use
- Note whether the sample is for indoor, short term outdoor or general display use
Show Colour And Finish Under Real Viewing Conditions
Flatbed UV samples should be checked under proper light, not only under a bright bench lamp. A board that looks excellent in the workshop may appear different in a shopfront, office reception or warehouse entrance. Include samples that show matte, gloss or mixed finish options where they are relevant to the job.
It also helps to show how colour shifts when the viewing angle changes, especially on smoother rigid boards. Place the samples near a window, under LED lighting and in a shaded area if you can. That gives the buyer a more realistic idea of how the print will present in Germiston, Sandton or on a site with mixed natural and artificial light. Coastal humidity in Durban can also affect how some boards are handled so a little practical testing goes a long way.
Add Finishing Notes So The Kit Feels Useful
A sample without notes is easy to forget. Each piece should carry simple information such as the media name, thickness, print side, expected use and any finishing step that matters. If the sample was cut, drilled, mounted or edged after printing, say so. Clients often need to know whether a board can be installed quickly or whether it needs extra work before delivery.
Keep the notes plain and practical. Do not crowd the sample with too much text. One short label is enough if it is neat and readable. If the kit is going to a municipal or corporate buyer, note whether the material is suitable for internal wayfinding, temporary promotion or longer term signage. That helps the client match the sample to their approval process and avoid unnecessary back and forth.
Prepare The Kit For Transport And Handling
Rigid samples can chip, mark or rub during transport if they are packed badly. Use a flat carton or a padded sleeve that keeps each piece separate. Put the heaviest samples at the bottom and avoid loose items that can scratch the printed surface. If the kit is travelling between Johannesburg, Pretoria, Durban, Cape Town or Gqeberha, protect it from heat, moisture and rough handling on the road.
A simple packing checklist helps:
- Wrap each sample or separate it with clean sheet protection
- Include a contents sheet with media names and intended use
- Keep corners protected to prevent knocks
- Store the kit flat and away from direct sun
- Check for dust or fingerprints before sending it out
If the kit will be used by sales staff, make sure they know how to explain the difference between print quality, substrate choice and finishing. A good sample kit works better when the person presenting it can answer basic production questions without guessing.
Use The Kit To Confirm Workflow Before Production
A sample kit is not only for selling. It is also useful for planning the real job. Before a larger order starts, test the chosen media, confirm the ink behaviour and check whether the final layout needs adjustment for cutting, mounting or display placement. That saves time later and helps prevent delays when the client signs off on the wrong finish.
For businesses dealing with load shedding, backup power and busy production days, this step matters even more. A quick pre production check can highlight media that needs extra handling or artwork that should be revised before the machine starts running. It also gives the team a chance to confirm operator settings, drying time and post print handling. That way the final job is less likely to come back with avoidable issues.
Review And Refresh The Kit Regularly
Sample kits should not sit unchanged for years. Boards, inks and workflows can change, and old samples may no longer show the best of what the print room can do. Review the kit every few months, replace worn pieces and remove anything that no longer reflects current production quality. If a sample has faded, warped or picked up scuffs, it is time to print a new one.
It is also worth tailoring the kit for different buyer types. A retail client may want promotional signage and shelf talkers, while an events team may need lightweight boards that move easily and install fast. Keep a master set at your Germiston base, then prepare smaller versions for the Johannesburg, Pretoria, Durban, Cape Town, Gqeberha and East Rand support areas. That makes the presentation quicker and keeps the message consistent across the country.