
What UV ink does on rigid boards
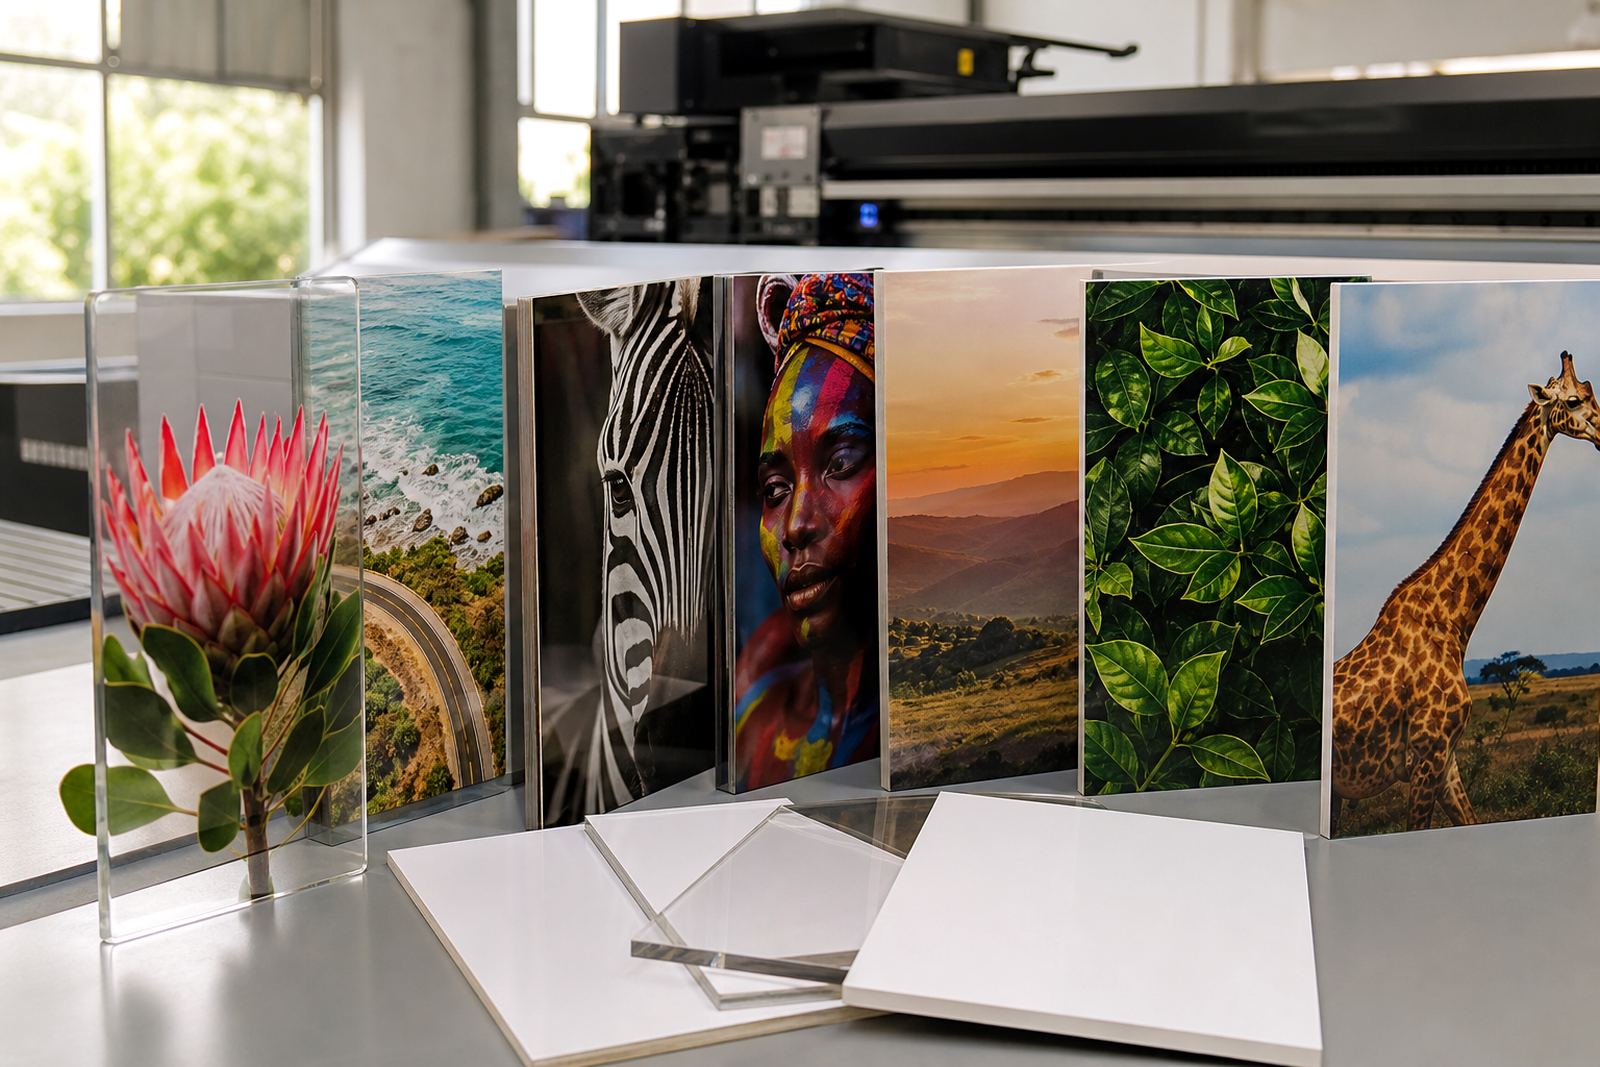
UV ink is designed to cure under ultraviolet light rather than drying by evaporation. That means it can sit on top of rigid media such as PVC board, foam board, acrylic, sintra type board, corrugated plastic and other signage substrates, then harden quickly into a usable print layer. For shops in Germiston, Johannesburg or Pretoria that need quick turnaround, this short cure path can help keep production moving, especially when floor space is tight.
The quality of the final result depends on more than the printer itself. Ink choice, media type, surface cleanliness and the curing process all work together. A glossy board may show stronger colour, while a textured or dusty surface can weaken adhesion. If a board is warped, oily or contaminated from storage, the print may still look good at first but edge lifting or scuffing can appear later.
Curing basics and why they matter
Curing is the point where the ink film hardens enough to handle, stack or finish. If cure is too light, the print can feel tacky, mark easily or lose adhesion when cut. If it is too strong, the surface may become brittle or overheat on sensitive media. The operator needs to watch for balance, not just speed.
Different jobs need different handling. A short run of display boards for an event in Durban may need fast throughput, while outdoor sign panels for Cape Town or Gqeberha may need more attention to edge durability and post print handling. Weather matters too. Coastal humidity can affect how media stores and how dust sticks to surfaces, so a neat prep area helps.
- Check the print surface before loading
- Keep boards flat and dry before use
- Confirm cure is consistent across the full sheet
- Allow printed items to cool before packing
- Do a scratch and tape test on sample pieces
Media choice, adhesion and surface prep
Good UV printing starts with media that suits the application. Rigid boards used for shop signage, exhibition panels or point of sale displays should be clean, flat and compatible with UV ink. Some surfaces are smoother and need less help, while others may need a primer or surface treatment to improve adhesion. Never assume all boards behave the same, because two similar looking sheets can give very different results.
Before production, wipe down the surface if needed and remove dust, oil and fingerprints. Handle boards by the edges where possible. If the material has been stored near a workshop floor, in a vehicle or in a damp storeroom, let it settle in the print room first. That small delay can prevent lifting, poor laydown and rejected boards later on.
- Use one sample sheet for media testing before a full run
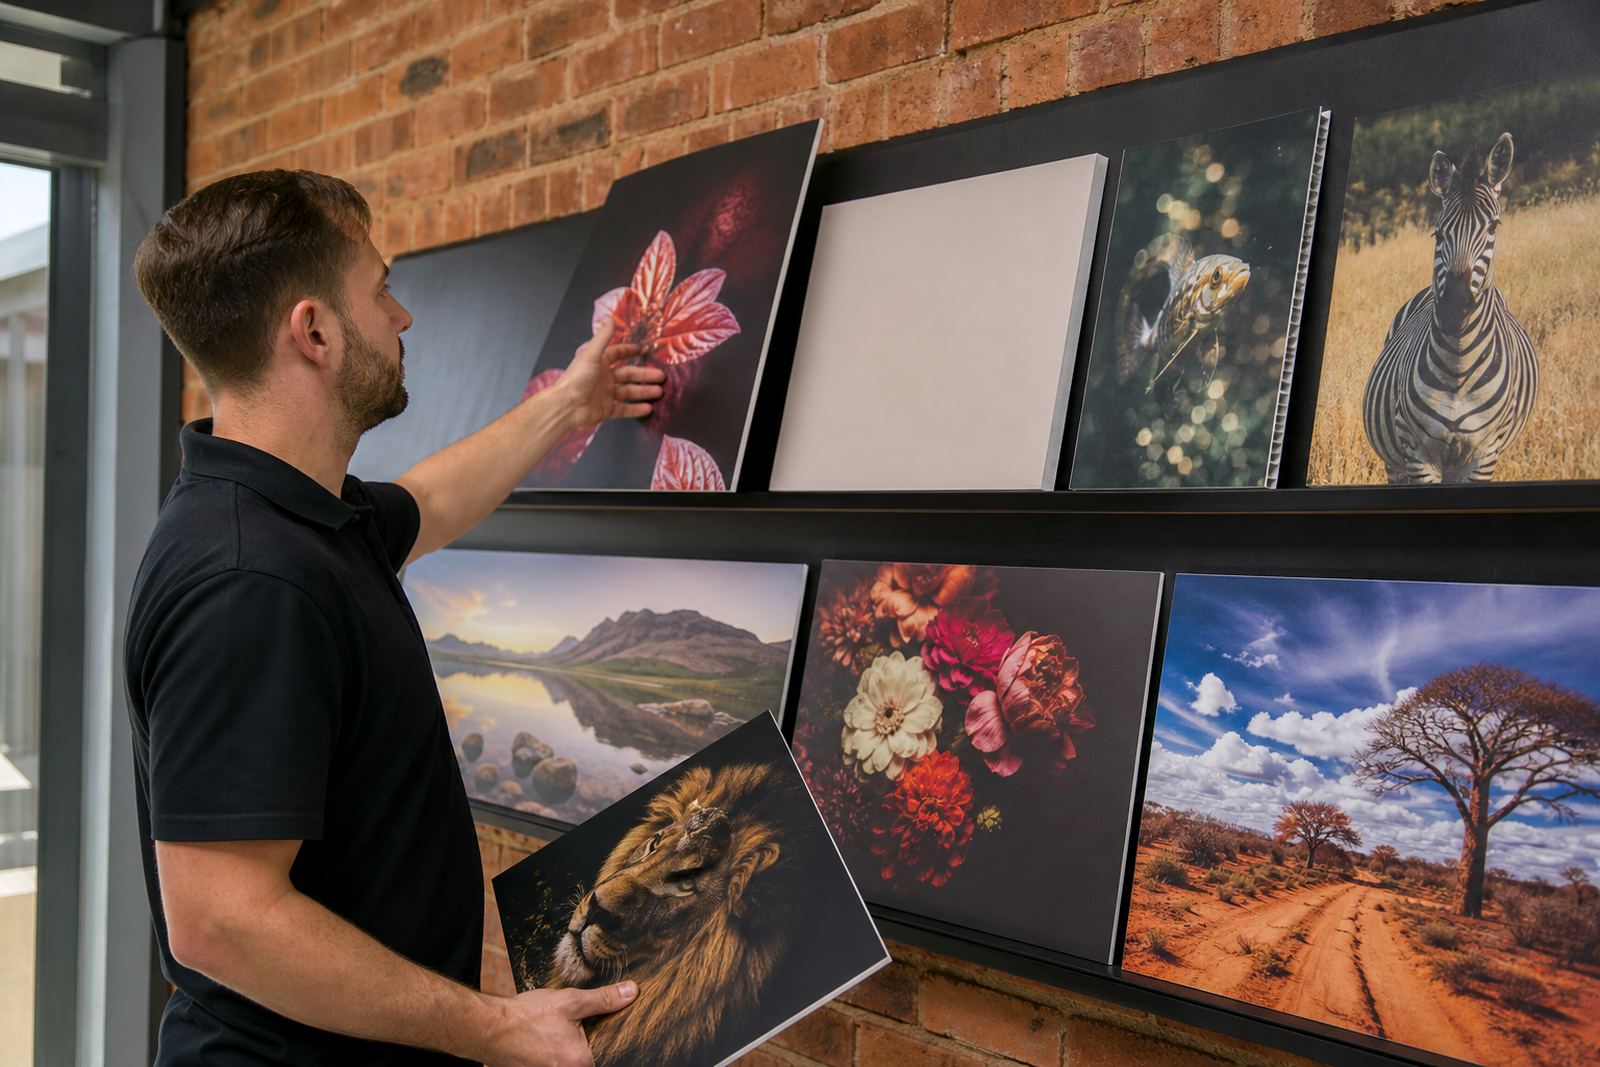
- Note how the ink sits on matte, gloss and textured finishes
- Record any need for primer, pretreatment or extra drying time
- Reject warped, dirty or damaged boards before printing
Safe ink handling in the print room
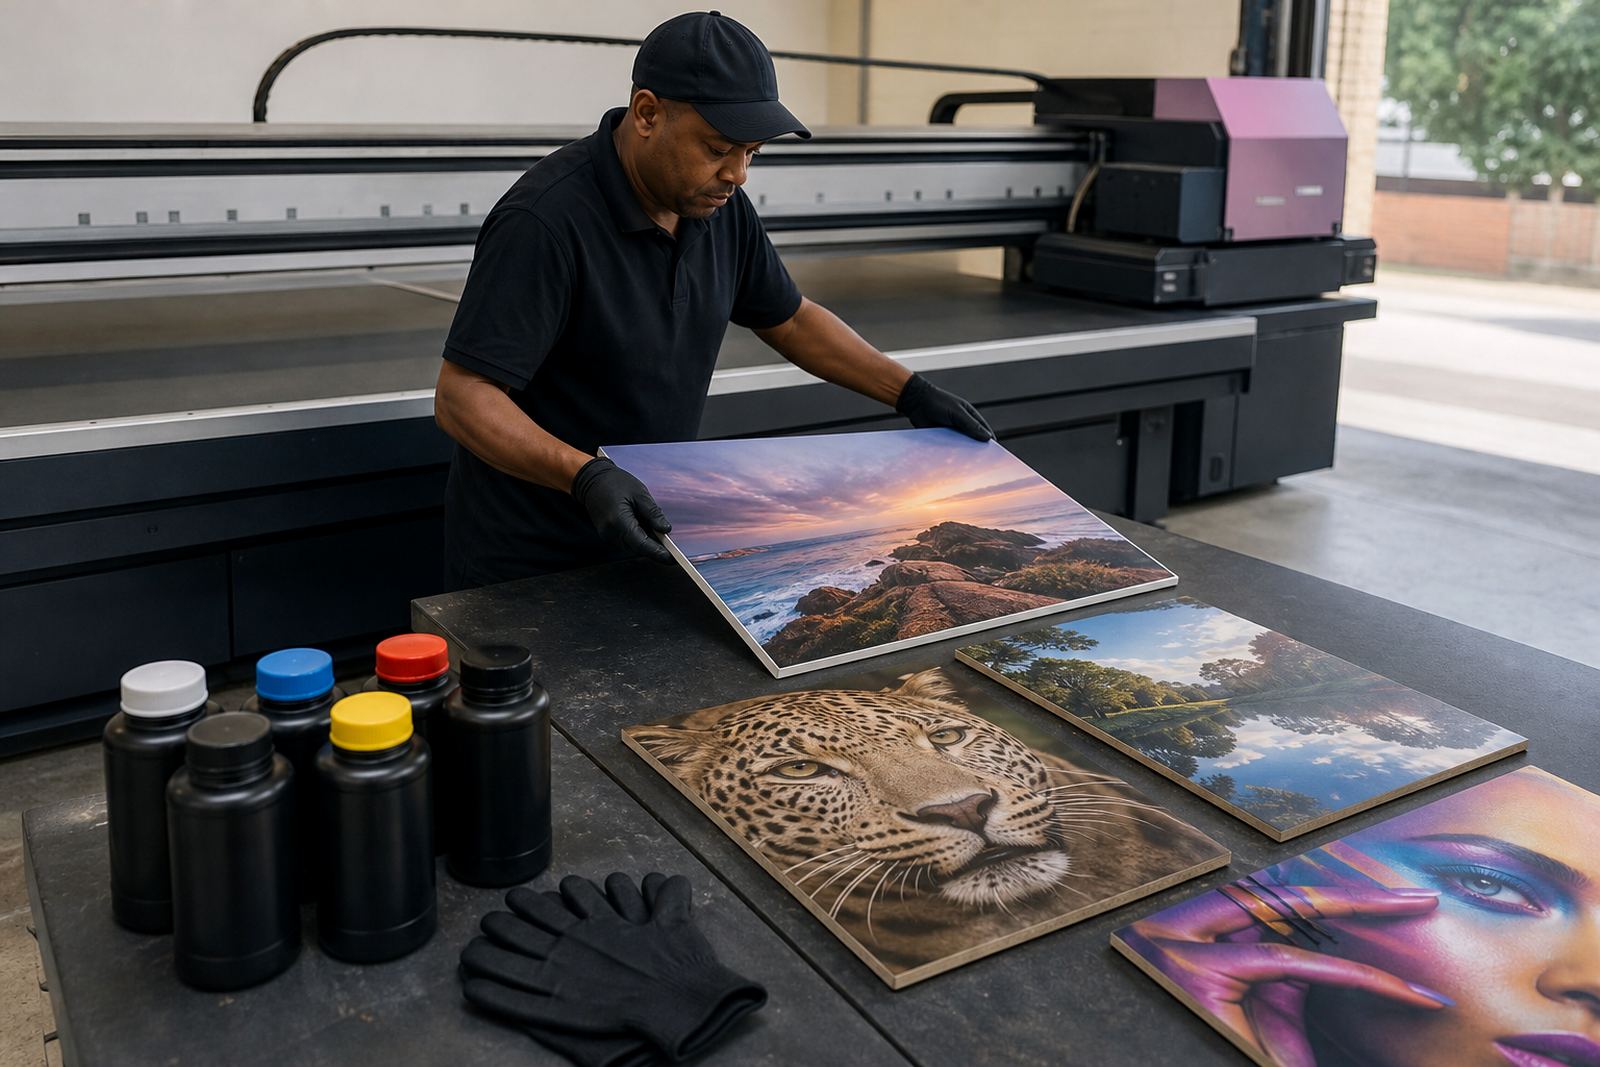
UV inks should be handled with care from delivery to decanting and storage. Keep lids closed, containers labelled and work areas tidy. Spills are best dealt with immediately using suitable cleaning materials and gloves. A small mistake here can affect both print quality and staff safety, and in busy production rooms it is easy for things to go sideways if the ink station is messy.
Temperature and storage conditions also matter. Inks that sit in hot sun, next to motors or near damp walls may change in behaviour. Operators should follow a clear routine for stock rotation, checking dates and keeping fresh supplies separate from opened containers. If the shop runs during load shedding, make sure the power backup plan covers printers, curing units and essential ventilation so the production area stays controlled.
Colour control and finishing checks
UV prints often need colour accuracy for brand panels, directional signage and retail graphics. The safest way to keep colour steady is to use a repeatable workflow, from file setup through to final check. That means consistent media settings, agreed viewing conditions and a simple approval step before full production. Colour that looks fine on screen may print differently on a rigid board, so proofing matters.
After printing, inspect the job under normal light and look for banding, pinholes, overspray, cured texture and edge issues. If the print will be cut, drilled or mounted, check the margins before moving to finishing. A neat board can still fail if the holes chip or the cut line lifts. The last 10 minutes are often where the job is won or lost.
- Confirm file size and bleed before printing
- Check the first board before running the full batch
- Inspect edges, holes and corners after curing
- Keep an approval sample for repeat orders
A practical checklist before every run
Simple habits help keep UV work steady from one job to the next. A checklist is useful whether you are producing one panel or a full batch for a branch rollout across Gauteng, KwaZulu-Natal or the Western Cape. It also makes it easier to train new operators and spot problems early, before they become expensive reprints.
Use this as a working routine:
- Boards are flat, clean and dry
- Ink stock is correct and within spec
- Printer heads and curing components are ready
- Environmental conditions are suitable for the job
- Test print is approved before bulk production
- Finished work is cooled, inspected and packed properly
If any step fails, stop and correct it before continuing. That is usually cheaper than chasing defects after installation. For teams handling rigid signage every day, a clear routine keeps waste down and production calmer.